GAS OVEN INSTALLATION: ONTARIO TSSA EXAM STUDY GUIDE
Gas oven installation in Ontario is permit-driven work under Ontario Regulation 212/01 and CSA B149.1. This guide covers site prep, code-compliant materials, pressure testing, commissioning, and documentation for G3, G2, and G1 candidates.
You're probably reading this with the TSSA exam in one hand and CSA B149.1 notes in the other, trying to separate trade reality from the junk you see in generic DIY videos. That's the right instinct. Gas oven installation in Ontario isn't a "hook up the flex and slide it in" task. It's permit-driven gas work under Ontario Regulation 212/01, inspected to CSA B149.1, and judged by whether the appliance is safe, testable, documented, and ready for sign-off.
That matters on site and on your exam. A homeowner sees a stove. A gas fitter sees shut-off access, connector compliance, electrical verification, anti-tip protection, leak test procedure, and whether the paperwork will survive a TSSA review.
FROM THE TRUCK TO THE TSSA TEST
The first solo range install feels simple until you think like an inspector. The unit is in the kitchen, the homeowner wants it done fast, and you know that every shortcut becomes your problem if the line leaks, the polarity is wrong, or the permit trail is missing. That's the jump from helper to technician.
A seasoned fitter doesn't treat a gas range like furniture with a burner. He treats it like a gas appliance installation that must be code-compliant, testable, and defensible. That means you don't just connect parts. You verify conditions, choose approved materials, test your work, commission the appliance, and document what you did.
> **Practical rule:** If you can't explain why a fitting, connector, clearance, or test method is acceptable under CSA B149.1, you're not ready to call the job complete.
Three habits separate strong apprentices from risky ones:
- **They verify before touching.** Gas supply, appliance approval, outlet condition, shut-off access, connector type.
- **They work in sequence.** Isolation, assembly, test, purge, ignition, documentation.
- **They think ahead to inspection.** Every decision answers the question, "How would I show this is safe and compliant?"
SITE PREP CLEARANCES AND TSSA PERMITTING
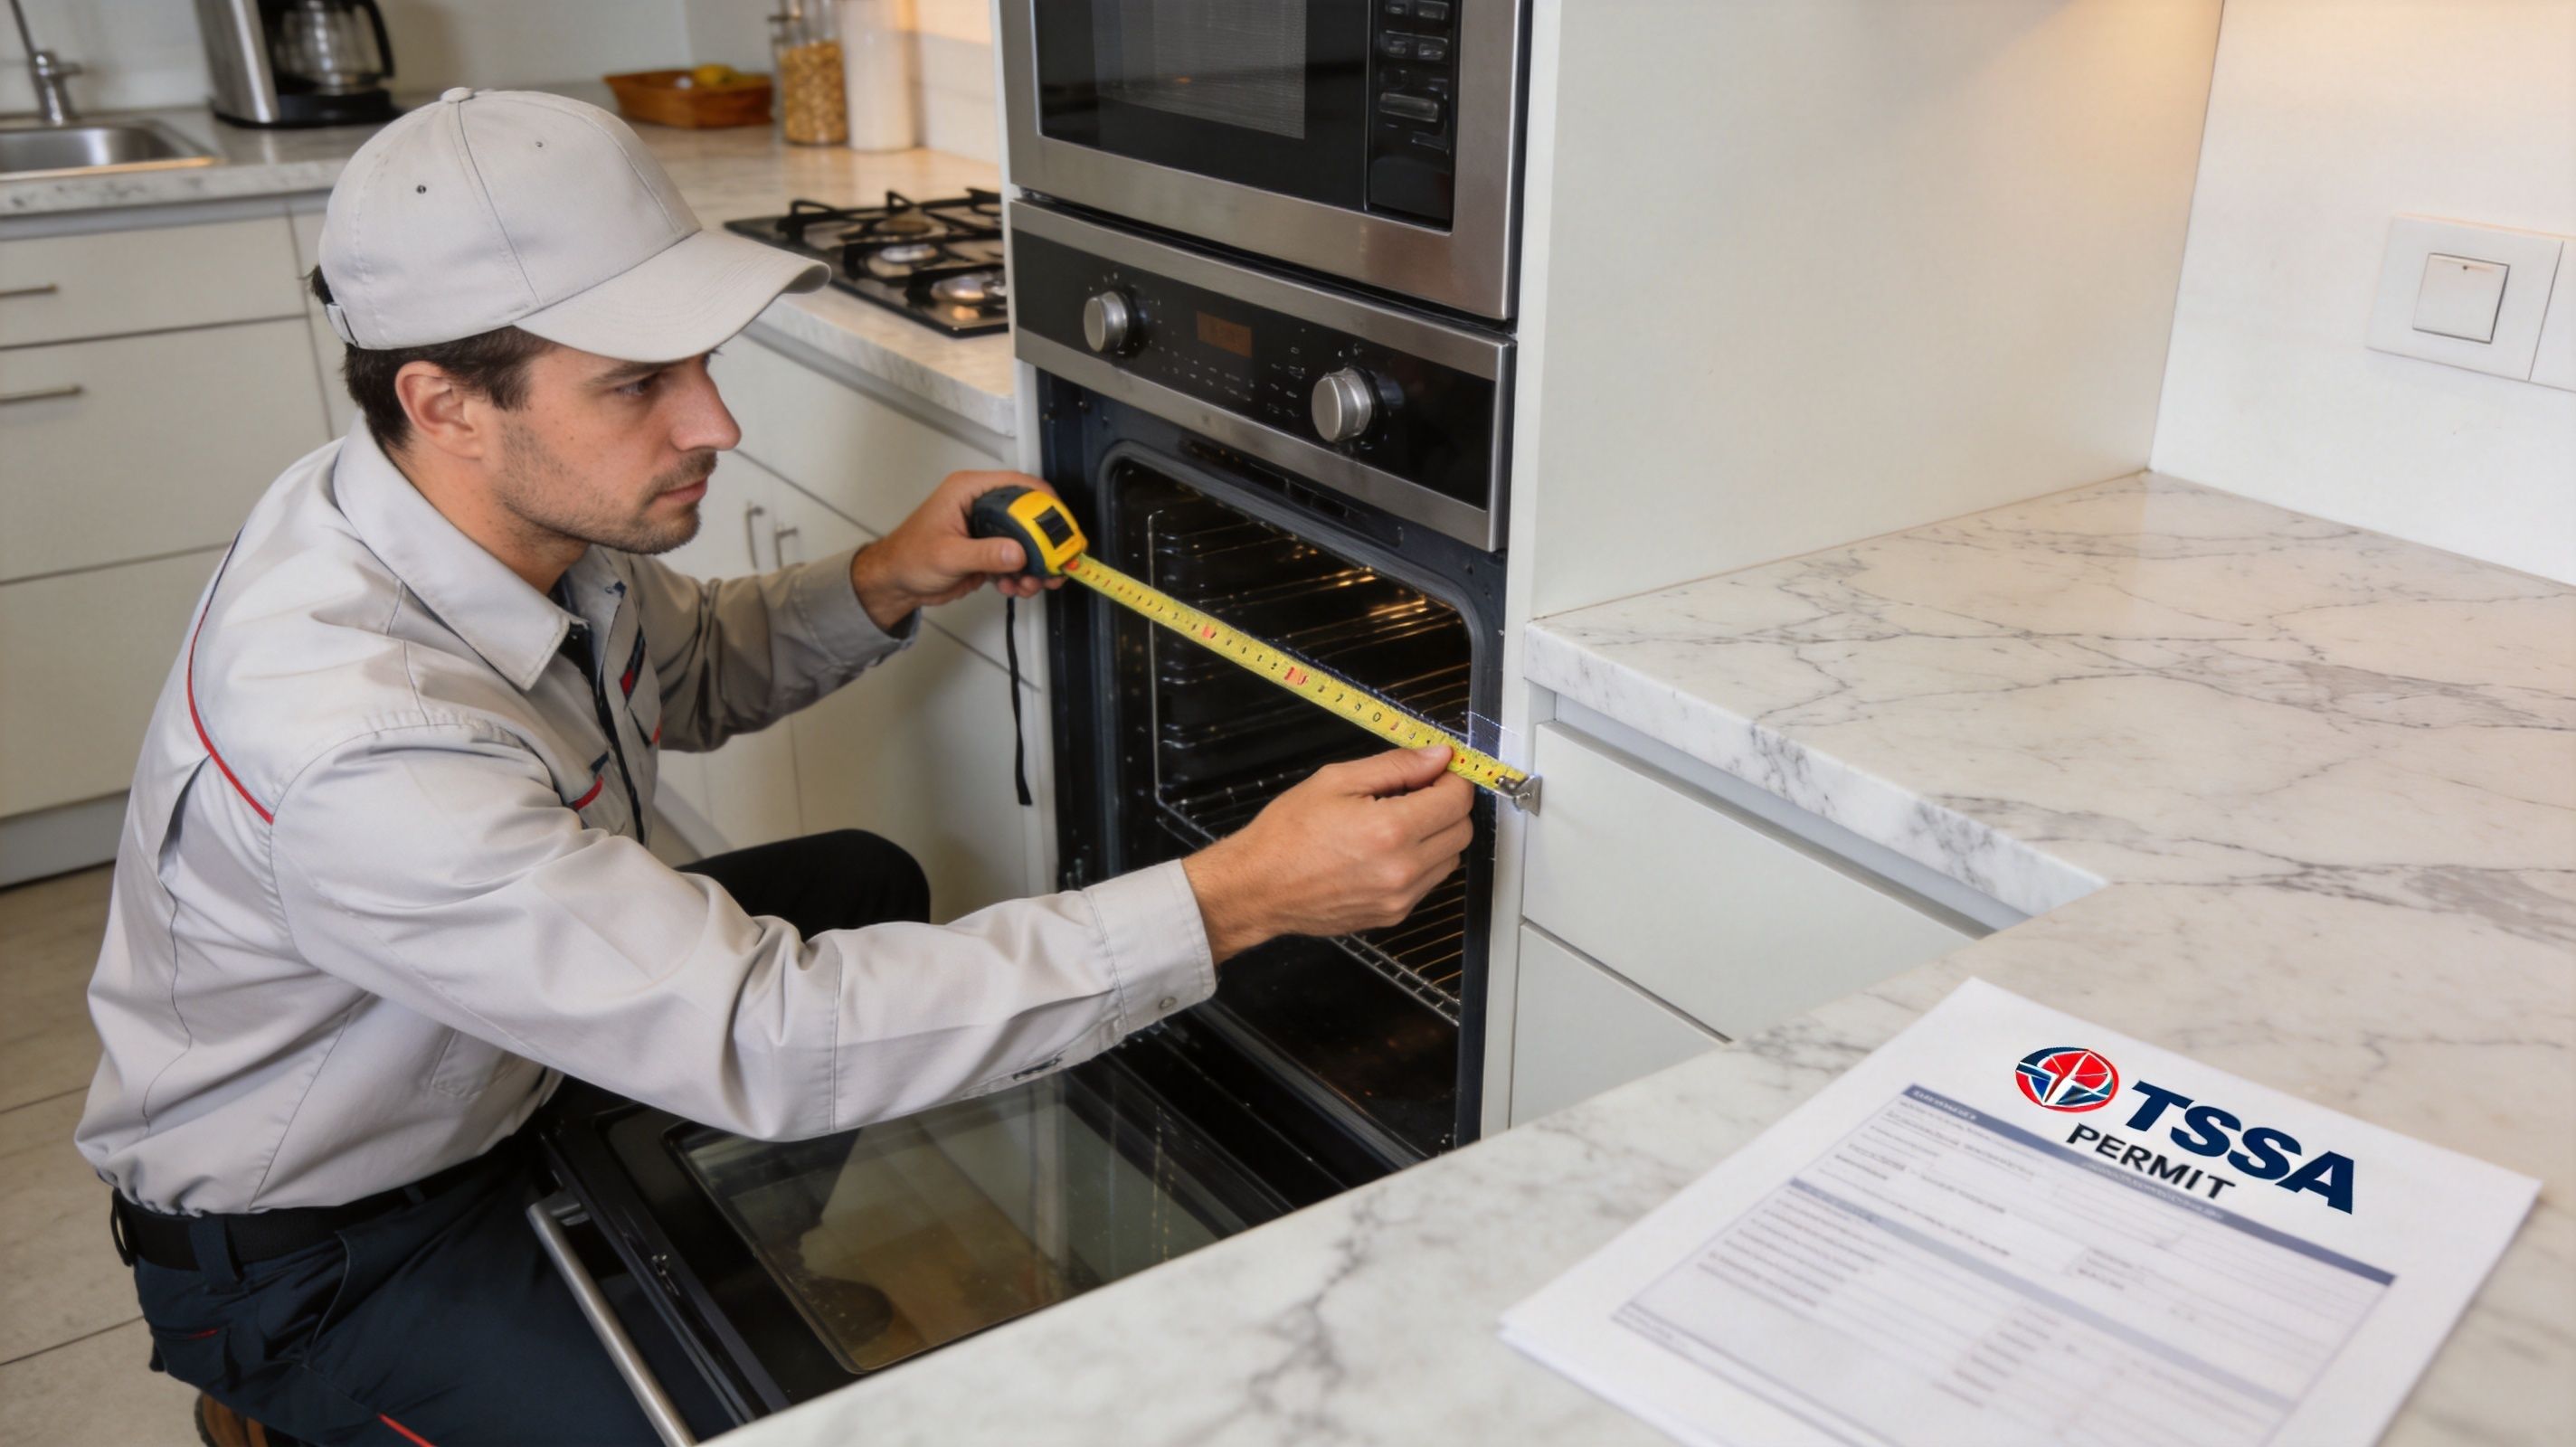
WHAT GETS CHECKED BEFORE A TOOL COMES OUT
Site prep is where good installs start. If you skip it, you usually end up correcting something later with less room, less patience, and more liability.
Start with the appliance listing and manufacturer instructions. CSA B149.1 gives the governing installation framework in Ontario, but you still need to verify the specific appliance requirements for placement, connection method, and anti-tip hardware. If the manufacturer calls for a condition, you don't get to ignore it because the kitchen "looks standard."
Then inspect the location itself. Confirm the range can be placed without crushing the connector, pinching the cord, or blocking access to the manual shut-off. Check the floor condition and rear wall. If the appliance won't sit level or the anti-tip bracket can't be secured properly, solve that before the gas connection.
The electrical side gets missed by apprentices who think "gas range" means "gas only." It doesn't. Ignition systems and controls still depend on a proper receptacle. Incorrect polarity or a missing grounded outlet within 1.2 m of the appliance is a common TSSA inspection failure that gets missed when fitters treat the job as gas-only work. That's not a small detail. It's an inspection issue tied directly to safe operation.
Use a pre-install check like this:
- **Outlet check:** Verify a grounded 120V/15A NEMA 5-15R receptacle is within reach and correctly polarised.
- **Shut-off access:** Make sure the manual valve is accessible after installation, not buried behind a fixed panel or trapped by the chassis.
- **Placement and level:** Confirm the appliance can be levelled and the anti-tip bracket can engage as intended.
- **Connector path:** Plan the connector route so it won't kink, rub, or get crushed when the range is pushed back.
> If you have to force the appliance into place, stop. Forced placement usually means stress on the connector, poor access to the valve, or a bracket that never engages.
WHY PERMITS MATTER TO APPRENTICES
In Ontario, gas work falls under TSSA oversight, and permits are mandatory for gas work under the adopted code framework. For exam purposes, that means permit awareness isn't office trivia. It's part of competent practice.
A permit does three things. It establishes that the work is regulated, it triggers inspection and compliance expectations, and it creates a record that the installation was done under the proper authority. If you're a G3 apprentice, this is one of the clearest lines between trade practice and DIY content online. Generic videos show fitting assembly. They don't teach you when the install becomes regulated work requiring formal oversight.
| Check | Why it matters on a TSSA inspection |
| --- | --- |
| Appliance approval | Confirms the unit is suitable for the installation |
| Site condition | Prevents damaged connectors and inaccessible shut-offs |
| Electrical verification | Avoids polarity and grounding violations |
| Permit status | Proves the work entered the proper regulatory channel |
Treat permitting as part of the job, not paperwork after the job. That habit will save you marks on the exam and grief in the field.
SELECTING CODE-COMPLIANT TOOLS AND MATERIALS
The materials list for gas oven installation is short. The consequences of getting it wrong are not. TSSA inspections don't care whether a joint looked tidy if you used the wrong sealant, exceeded connector limits, or taped a flare face.
WHAT BELONGS IN YOUR INSTALL KIT
For a residential range connection in Ontario, your base kit should reflect the code and the appliance design. The connector matters first. CSA B149.1 specifies a CSA-certified flexible corrugated stainless steel tubing connector with a maximum length of 1.8 m, and it must be handled without kinks and within the required bend radius. If an apprentice shows up with a connector that's too long because "that's what was on the truck," that's already the wrong approach.
Thread sealing is next. On male NPT threads, use yellow gas-rated PTFE tape applied clockwise in 2 to 3 wraps, or another approved gas-rated sealant where appropriate. Do not apply thread sealant to flare fittings. Flare joints seal on the metal faces, not on tape. Tape on a flare is a mistake, not extra protection.
You also need the right measuring and test tools. A proper install kit includes a manometer, leak detection solution, level, basic hand tools, and, where torque values are being verified, a torque wrench. This isn't overkill. It's how you prove the joint was assembled correctly instead of guessing by feel.
WHERE APPRENTICES LOSE MARKS
Most material failures aren't dramatic. They're small decisions that signal weak code habits.
A common one is using the correct connector badly. The connector is approved, but it's twisted during final placement, bent too sharply, or forced behind the unit with no thought to movement. Another is treating every thread the same, which leads to tape on flares, contaminated sealing surfaces, or overbuilt joints that are harder to inspect and more likely to leak.
Improper thread sealing and over-torqued flare nuts are among the most common causes of residential gas appliance installation failures found during TSSA inspections. That's exactly the kind of detail exam writers expect you to understand, because it links workmanship to leak risk.
| Component | Code-focused choice | Common error |
| --- | --- | --- |
| Flex connector | CSA-certified, correct length, no kinks | Overlength connector or crushed routing |
| NPT joint seal | Yellow gas-rated PTFE on male threads only | Tape on flare faces |
| Flare joint | Clean faces, no sealant on flare | Over-tightening to "make sure" |
| Shut-off valve | Accessible and properly positioned | Hidden or blocked after push-back |
> A bad habit in gas fitting is trying to fix poor fit-up with more force. More force usually means damaged threads, distorted flare faces, or a leak you'll chase later.
GAS LINE CONNECTIONS AND APPLIANCE VENTING
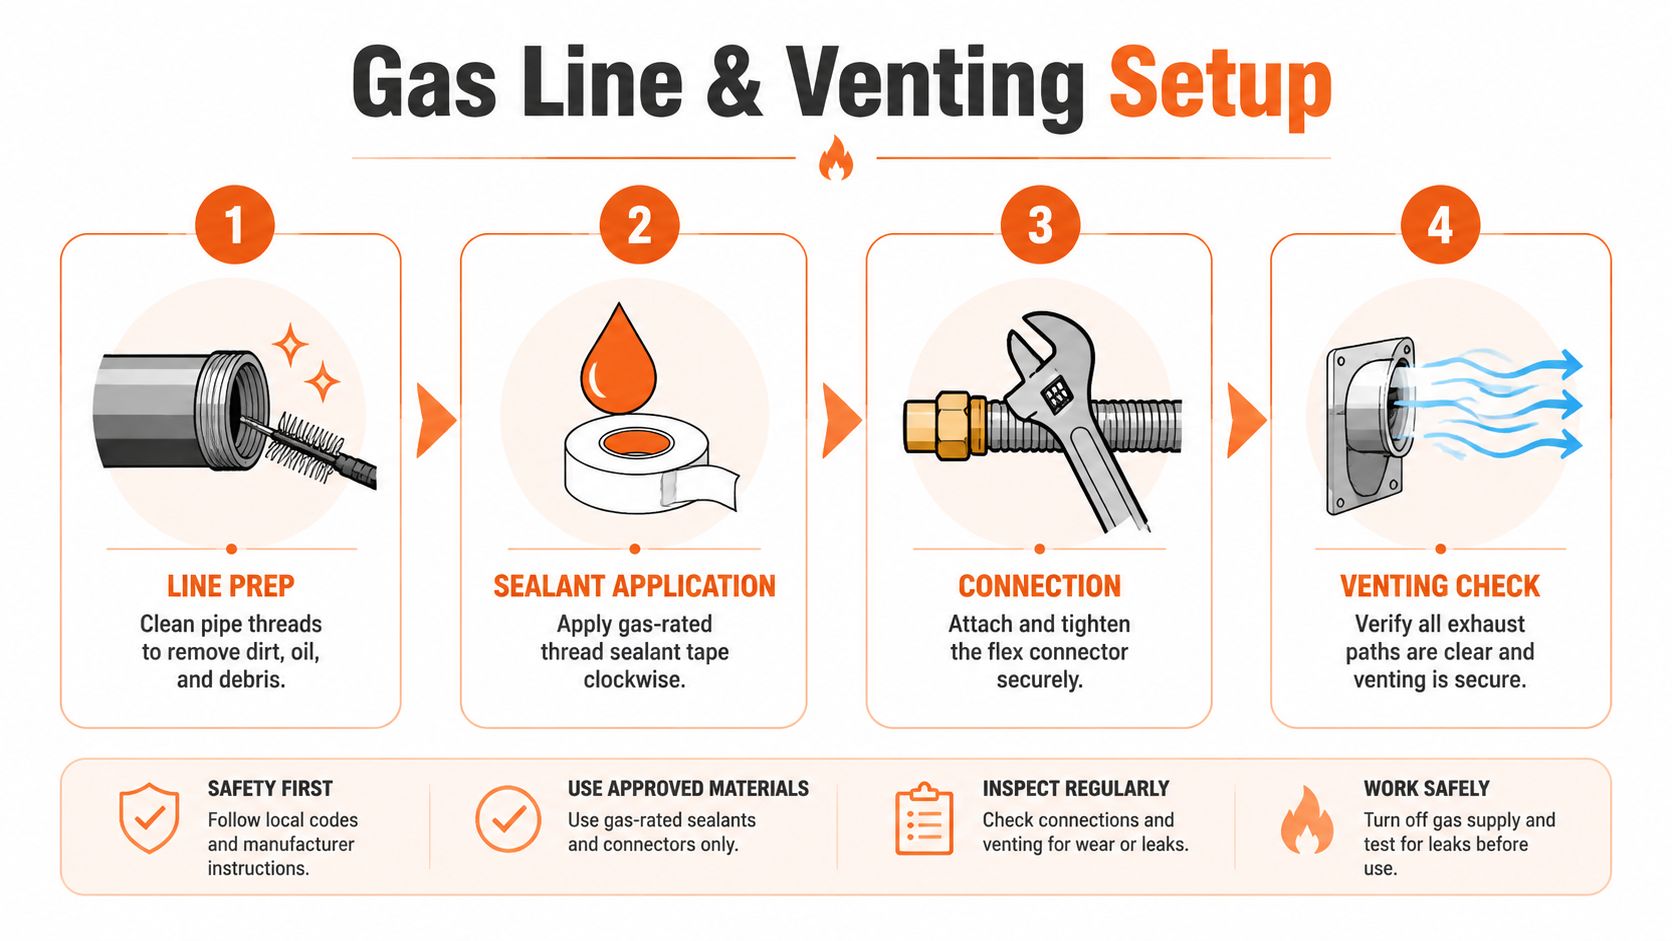
CONNECTION SEQUENCE THAT HOLDS UP ON INSPECTION
A clean sequence matters because gas work punishes improvisation. The Ontario procedure for a residential gas range starts with shutting off the gas supply at the manual valve and verifying zero pressure with a manometer, with less than 0.25 kPa residual. That first check tells you whether the line is isolated, not just assumed isolated.
After isolation, prepare the threaded joint properly. Apply yellow gas-rated PTFE tape clockwise in 2 to 3 wraps to male NPT threads only. Keep the first thread clean so you're not shedding tape into the gas stream. Verify the shut-off assembly meets the requirements of CSA B149.1 and the appliance manufacturer before proceeding with the connection.
Then connect the appliance connector. Attach the flare nuts hand-tight, then tighten with a wrench by 1/8 to 1/4 turn, with no Teflon on flares. Keep the connector free of twists and maintain the required bend radius. Once connected, push the appliance back carefully. Don't use the range to drag or flatten the connector into position.
1. **Isolate and verify** with the manometer.
2. **Assemble the threaded side** with approved sealant on male NPT threads.
3. **Install the connector** without twisting or contaminating flare surfaces.
4. **Position the appliance slowly** so the connector and shut-off remain protected and accessible.
VENTING AND AIR MOVEMENT CHECKS
Residential gas ranges create a lot of confusion because apprentices mix up appliance venting with kitchen exhaust. What matters is understanding the installation category and then verifying the surrounding air movement and manufacturer requirements correctly.
In advanced Ontario installs, TSSA requires venting verification and airflow benchmarks under the regulation for multi-unit or commercial settings. Specific airflow requirements will vary by appliance and setting and should be verified against the manufacturer specifications and applicable code requirements.
Check these items before calling the appliance ready:
- **Exhaust path:** Confirm the kitchen ventilation arrangement isn't blocked or compromised.
- **Appliance category:** Know whether you're dealing with a residential range connection or a setting that triggers more advanced venting review.
- **Burner behaviour:** During commissioning, watch for proper ignition and stable flame, because flame quality often tells you when combustion air or setup is off.
> Good fitters don't treat venting as "someone else's problem." If combustion products, heat, or air movement create an unsafe condition, the install is not complete.
EXECUTING A TSSA-COMPLIANT PRESSURE TEST
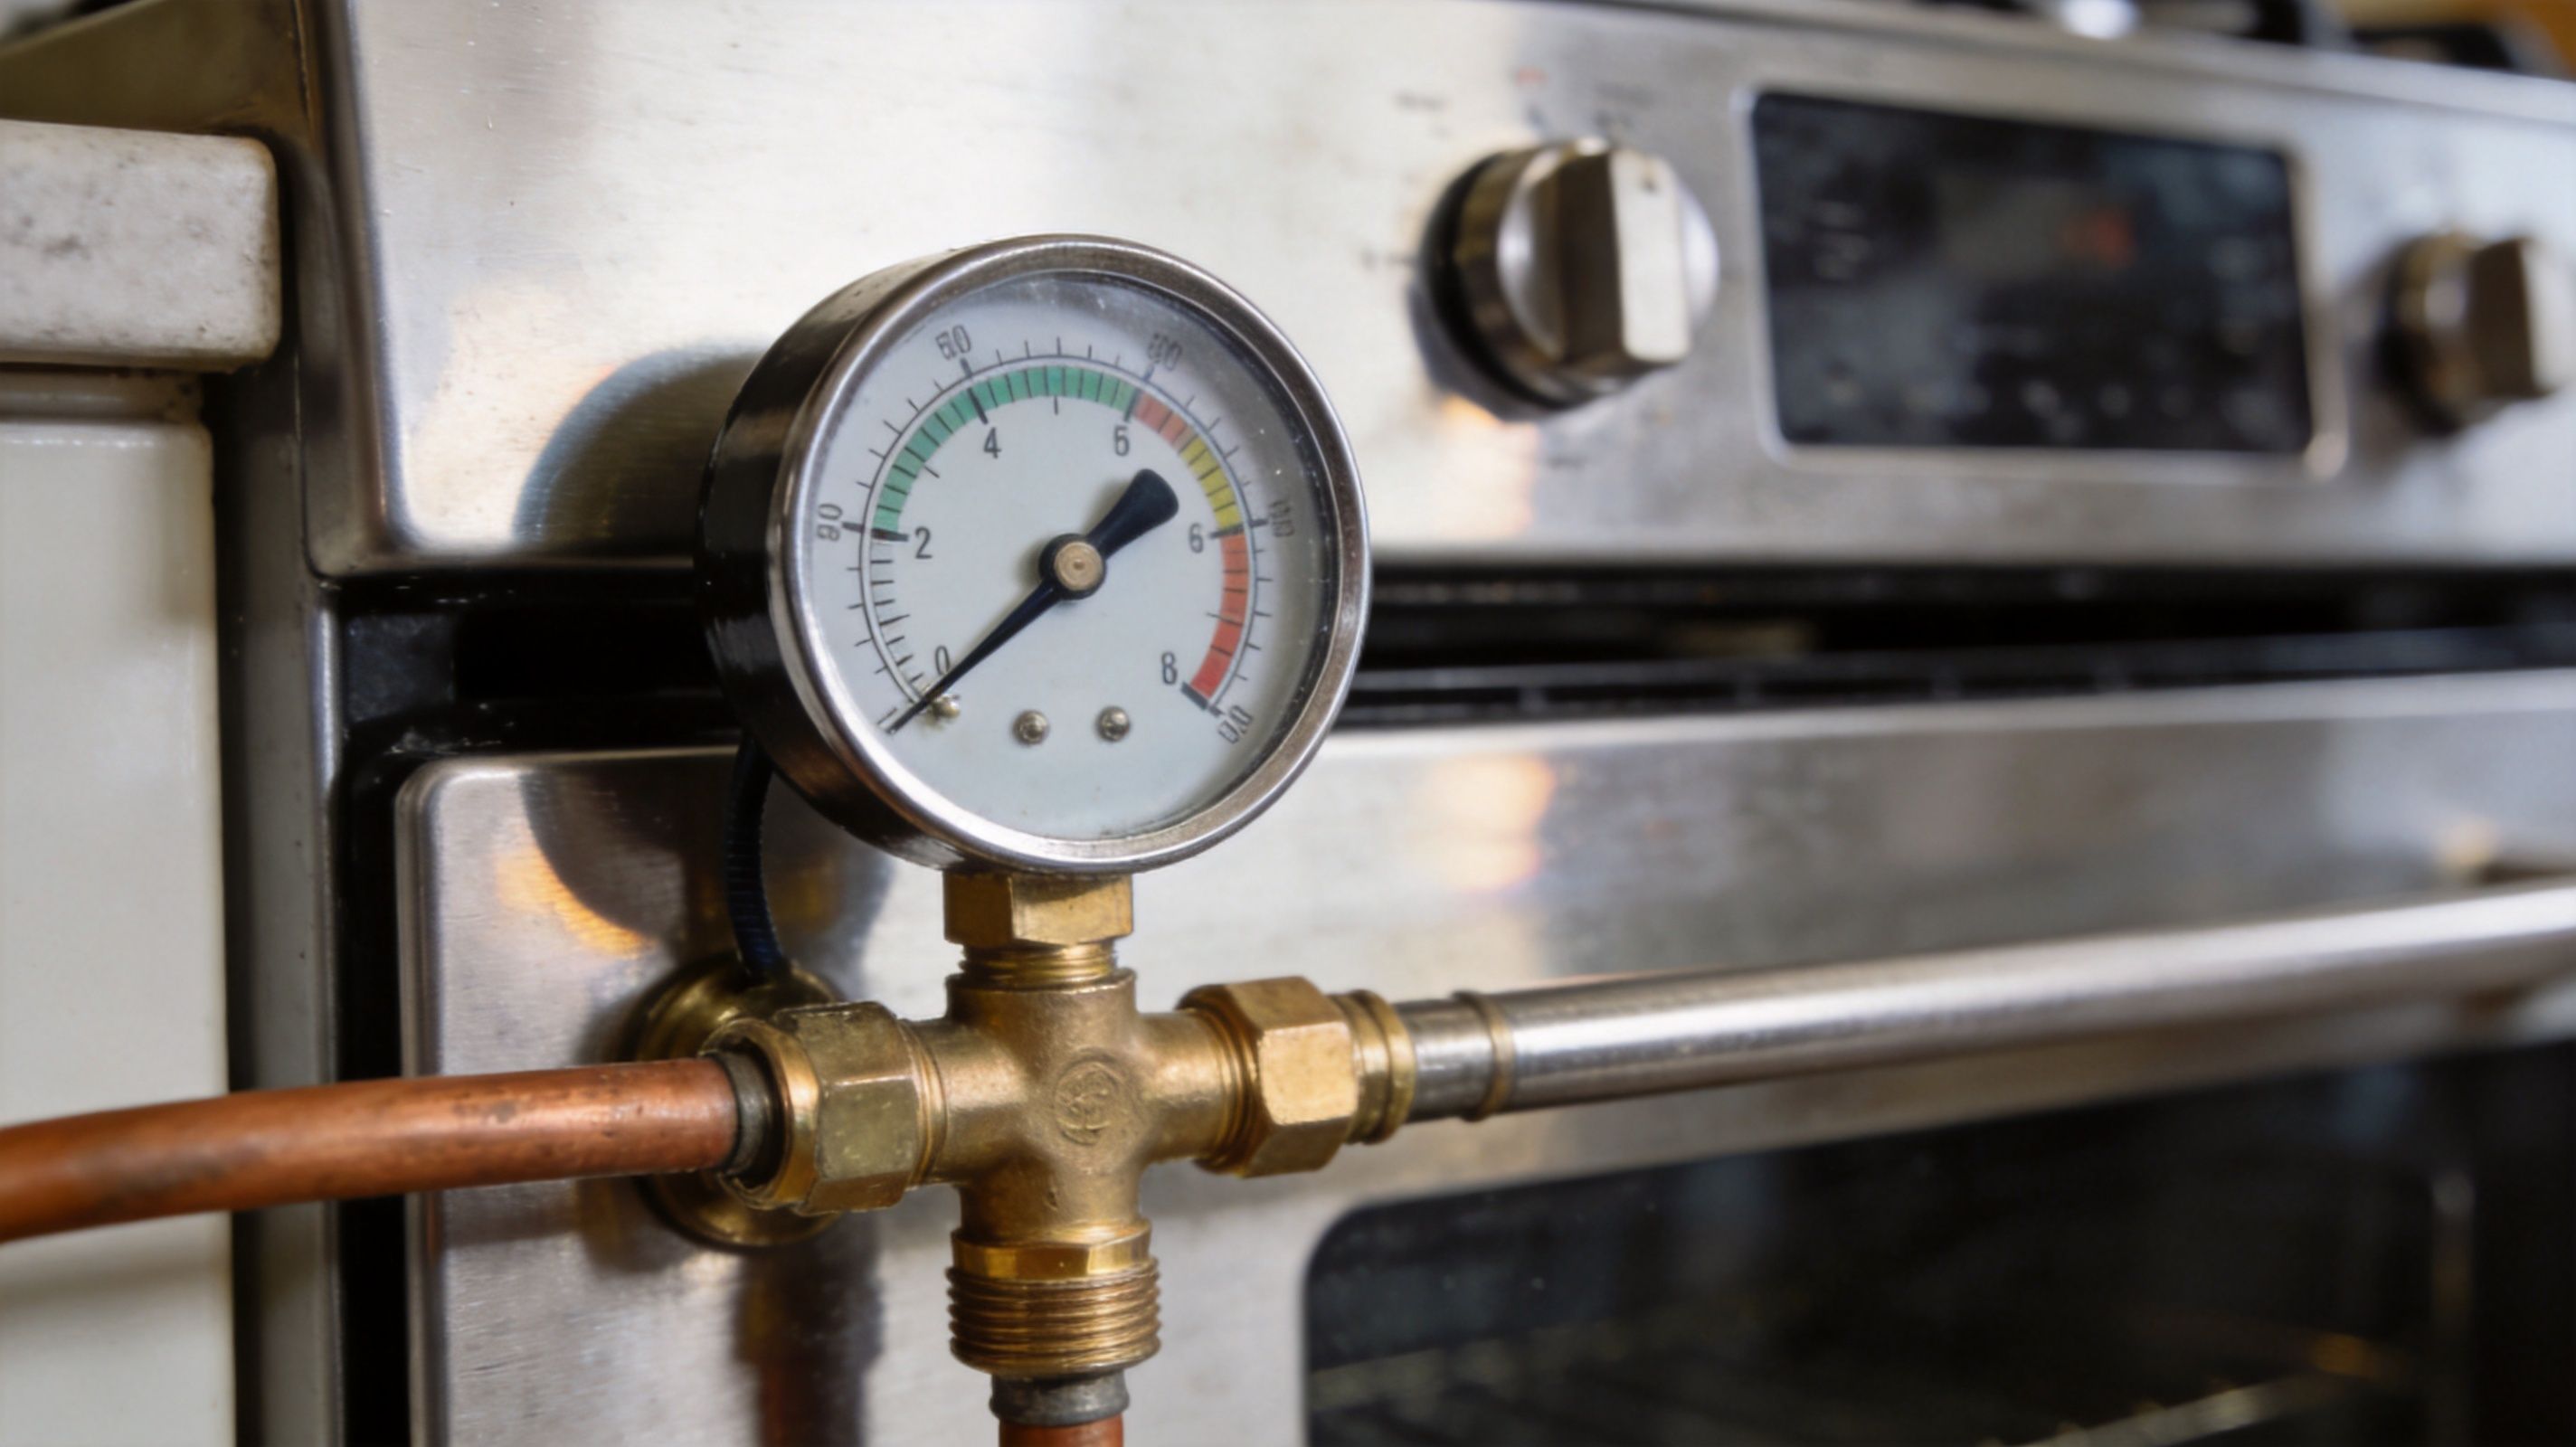
A pressure test is where opinion stops. The joint either holds or it doesn't. On the exam and in the field, this is one of the clearest demonstrations that you understand gas safety as a procedure, not as a guess.
THE PRESSURE TEST SEQUENCE
The residential procedure is specific. Apply 15 in. w.c. (3.75 kPa) air pressure, then hold for 5 minutes with less than 0.25 kPa drop permitted. If it won't hold inside that tolerance, the line hasn't passed. Don't rationalise it. Find the problem.
After the pressure hold, purge the line and perform a gas leak check using a soapy solution at the joints. These are two different tasks. The pressure test proves the assembly integrity under test conditions. The soap solution helps you locate a leak after the system is introduced to gas. Apprentices often blur these together, and that's how they miss the logic behind the sequence.
- **Isolate the section under test:** You need a defined test boundary.
- **Connect the manometer correctly:** A bad test setup gives you bad conclusions.
- **Pressurise with air:** Use the correct pressure point, not "whatever the needle reaches."
- **Watch the hold period:** Stay on the test. Distractions lead to sloppy reads.
- **Purge and soap-check after passing:** Don't skip to soap bubbles as a substitute for the pressure test.
WHAT FAILS INSPECTIONS AFTER THE LINE IS CONNECTED
The trap for many candidates is thinking the hard part ends once the flex is on. It doesn't. The pressure test often exposes what poor assembly hid for a few minutes.
Improper torque on flare nuts is one of the leading causes of post-installation leak failures. That's exactly why "tight enough" is not a professional standard. Under-tightening leaves a weak seat. Over-tightening can distort the flare and create a leak path that appears later. If you're given a torque benchmark in training or manufacturer instructions, use it. If not, follow the approved connection method precisely and inspect the joint condition before assuming it's sound.
The electrical side can still fail you at this stage too. Incorrect electrical polarity or a missing grounded outlet within 1.2 m of the appliance is a common audit finding. That matters during commissioning because a gas range with ignition or control issues can send apprentices chasing the wrong problem when the actual fault is electrical.
| Test activity | Purpose | What it does not replace |
| --- | --- | --- |
| Pressure hold | Proves system tightness over time | Soap-bubble leak pinpointing |
| Soap solution check | Identifies leak location at joints | Formal pressure test |
| Electrical verification | Confirms safe control and ignition support | Gas leak testing |
> If the pressure drops, you haven't "almost passed." You've failed the test and need to diagnose the assembly.
COMMISSIONING DOCUMENTATION AND FINAL INSPECTION
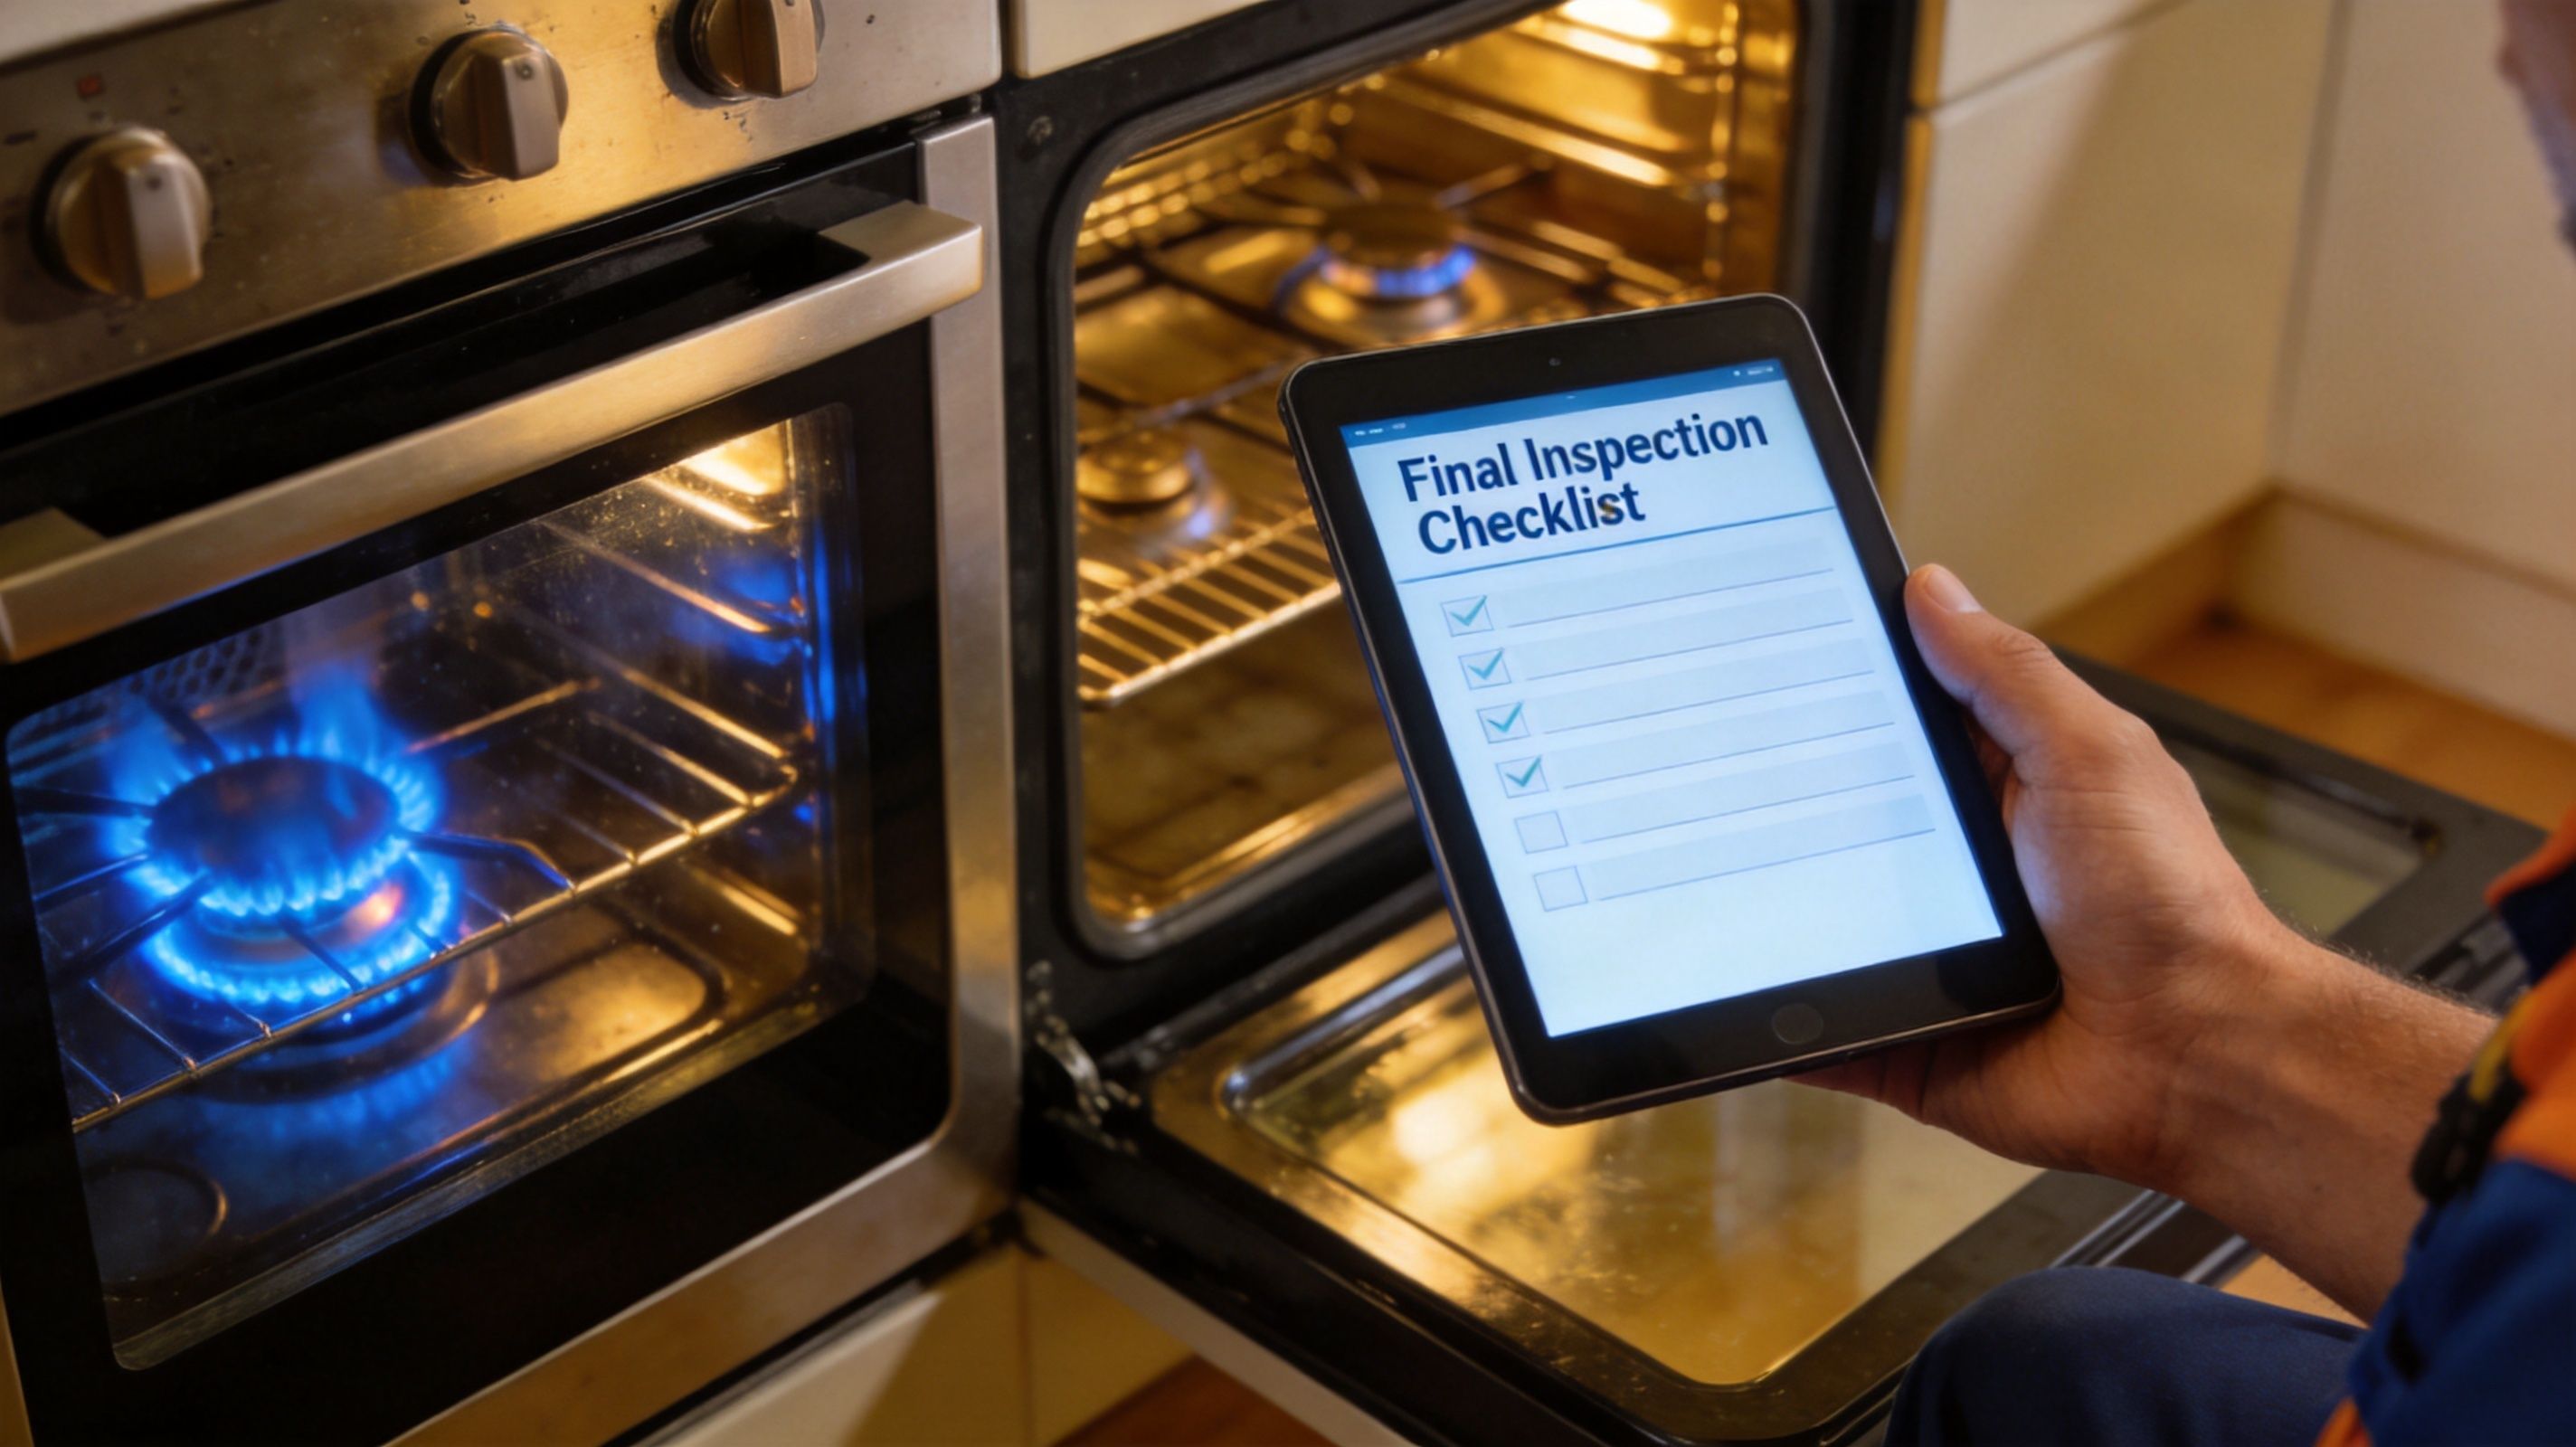
A tight line isn't the end of gas oven installation. Commissioning proves the appliance operates safely under live conditions. Documentation proves you carried out regulated work properly.
COMMISSIONING CHECKS THAT PROVE THE JOB IS FINISHED
Start by purging air from the line. Light a burner for 60 seconds to displace air after installation. Then check ignition performance — you should observe clean light-off at all burner ports with no delayed ignition and no flashback.
For oven operation, always align your final operational check with the appliance instructions and code expectations. You're looking for normal ignition, stable flame, and controls that respond properly.
One safety item that gets missed too often is the anti-tip bracket. Position it according to the manufacturer's installation instructions. Don't just install it — confirm the appliance engages with it after final placement.
- **Purge complete:** Burner lights cleanly after air is displaced.
- **Ignition behaviour:** Smooth light-off, no delayed ignition, no flashback.
- **Flame quality:** Stable flame pattern and normal oven cycling.
- **Anti-tip engagement:** Range is locked into the bracket, not just near it.
CLOSING PAPERWORK PROPERLY
Documentation is part of the install. It isn't admin fluff for someone else in the office. If the permit needs closure and the work is ever questioned, your records become part of the safety story.
Complete all required TSSA permit closure documentation per the scope of work. Whether you're the lead fitter or assisting under supervision, get used to recording what was tested, what was verified, and what was commissioned. That includes the leak test, electrical verification, anti-tip confirmation, and any other required sign-off items tied to the scope of work.
A good closeout record should answer these questions clearly:
- What appliance was installed
- What tests were performed
- What safety devices and supports were verified
- What permit-related documentation was completed
YOUR PATH TO G3 G2 AND G1 CERTIFICATION
A proper gas oven installation brings together nearly every habit TSSA wants to see. You verify the site, respect the permit process, choose approved materials, make clean connections, test the system properly, and commission the appliance like someone who knows his licence is attached to the result.
That's why this job is good exam preparation. It forces you to think in code sequence, not in shortcuts. If you can explain each step and the consequence of getting it wrong, you're building the judgment that carries from G3 to G2 and eventually G1.
For candidates who want more reps before test day, targeted practice matters. The best prep isn't more random videos. It's drilling code-based scenarios until the sequence becomes automatic. If you're studying for the residential licence, [this Ontario G2 exam prep resource](https://flamepath.co/g2-exam-prep) is built around that kind of repeated, code-focused practice.